Keepsake Box
A fellow worker lost her baby during the fifth month of her pregnancy and has been talking about the things that she is keeping/collecting as keepsake. I thought that it would be nice to make a medium size box to put the things in. Since this happened right after I just bought the lumber from the Kirkland Mill and didn’t have any plans for it so I decided to make my first box and give it to her.
Finish: Sand to 220. Two coats of Watco Danish Oil first night, another two coats of oil the second night. Third night applied one coat of carnuba wax. I can’t see the difference after the wax coat but it does feel smoother.
The first pic shows the full view of the box closed. The lid fits pretty good even after I installed the hinges.
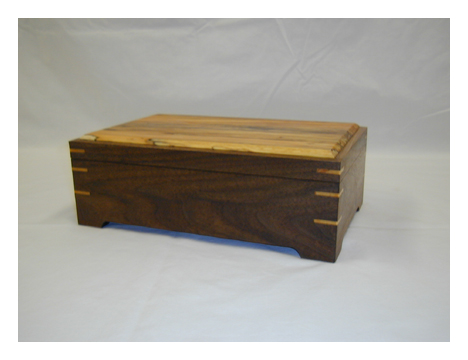
Lid opens up square to the bottom, I'm proud of myself.

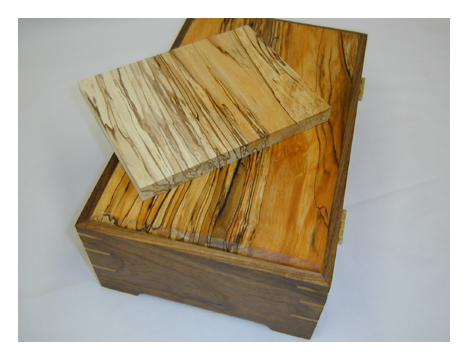
This is the top after quite a soaking in oil. Remember that thing Ken (Hardwood Connection) told us about using a dust mask when working this wood? I didn’t use a mask the first go around and got really sick that night, may have been a coincidence, may not have.

Here is a shabby shot of the bevel that I put on the top to smoothen out the lines a little.
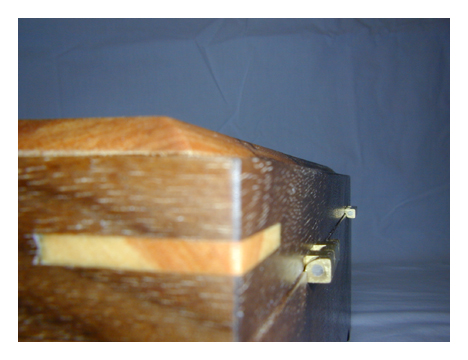
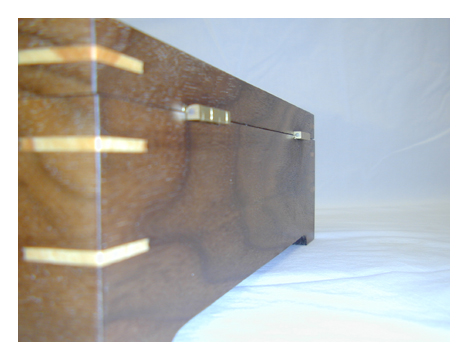
I hand cut the mortises for the hinges.

The back of the hinges were left stuck out, I wanted to attract attention to the nice brass hinges in a subtle way.
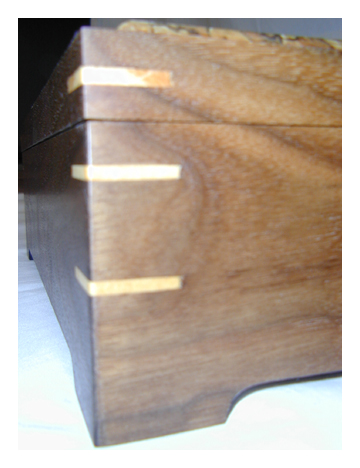
Cutting the kerfs for the splines was easy. Made a quicky jig from ¾" plywood with two 5" long pieces of 2x4 cut at 45deg screwed to it. I see that I need a thin kerf blade, these are a little big. The hard part was cutting the birch filler pieces to the right thickness. Ended up sanding for quite some time to got it right. This took the longest of the whole project.
This is a shot of the finished top compared to a piece with (left side) no finish and (right side) one coat of oil. I like the single coat of oil the best because of the contrast with the walnut. My finished top has this caramel coloring. I didn’t think soaking the piece would make it that dark. Next time.