Doll House
Well, after much discussion in my house about "having" a doll house, I finally decided to design one and build it. Most of the pressure came from my little daughter, she is the one that is into dolls and toys, even LEGO's. I decided to make a house that looked similar to our own home. During the designing of it I decided to consult the internet for a few pointers. Turns out that I was totally unprepared for the task at hand. During further bartering with the little one we finally came to the conclusion that it was OK for me to buy a kit since it would take less time. We went to the local dollhouse store and promptly ordered ourselves a house kit. Oh this is gonna be easy.
So, here is a small picture essay of where we stand today, about 15 hours into the project.
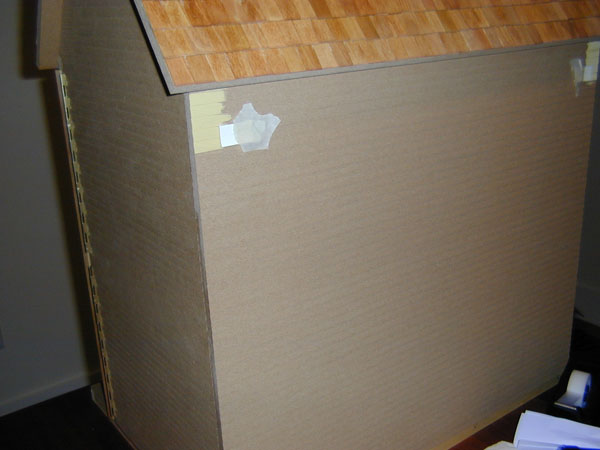
Here we show the house in it's raw, but halfway complete form.

The little one just can't stay away. You don't know how many times I had to clear the furniture in order to work on the house. We chose a front opening house since it seemed more practical as far as floor space consumption.
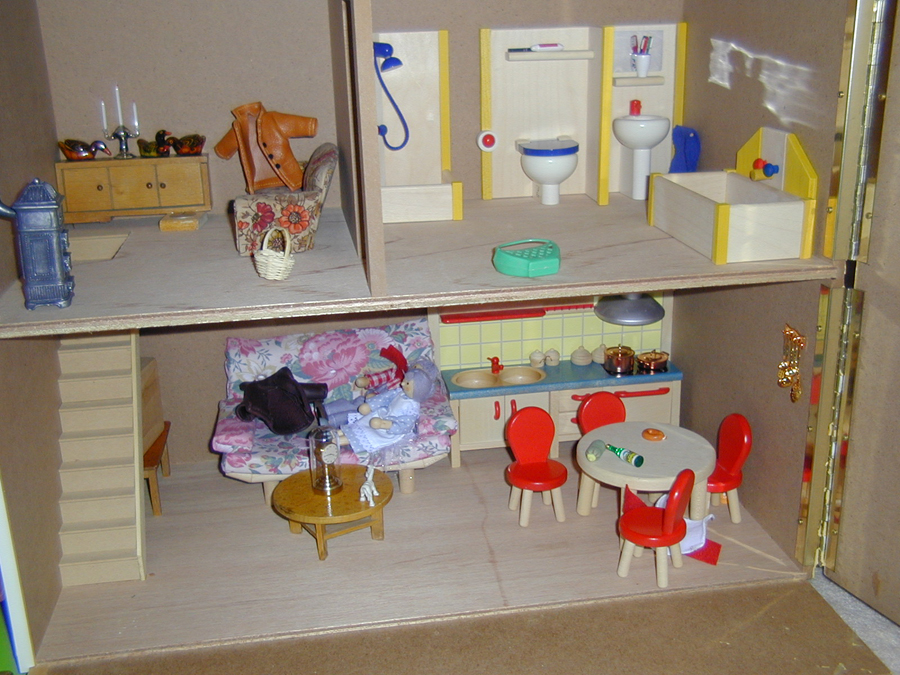
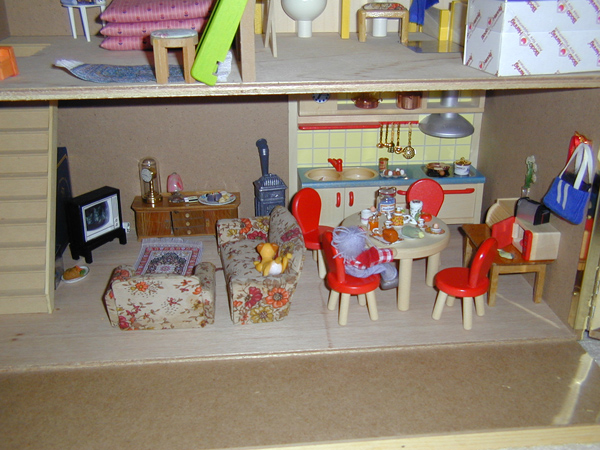
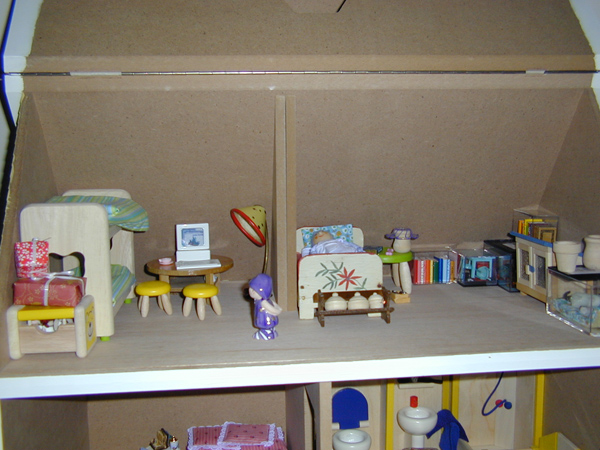
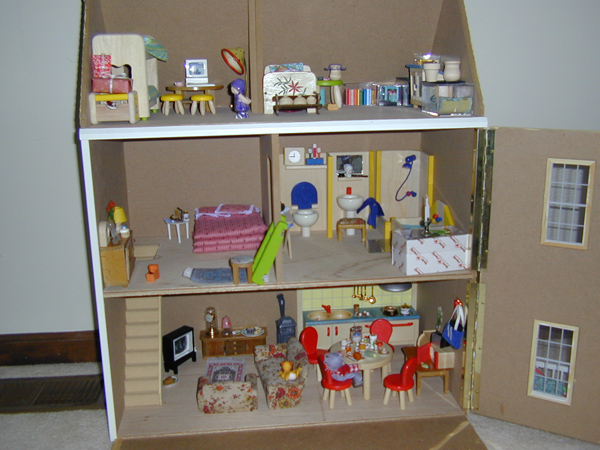
The inner lower two floors. Thanks to my parents and Aunt we have lots (too many) of furniture.

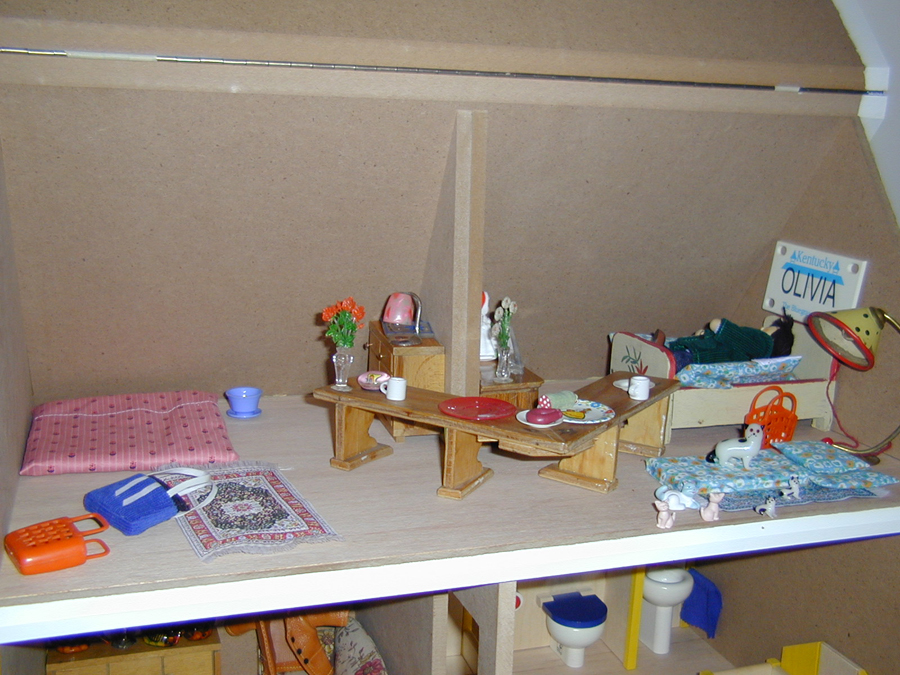
Even the attic space is hinged. Of course if this were a real house you wouldn't be able to get into the attic since there are no stairs. The dolls can fly.

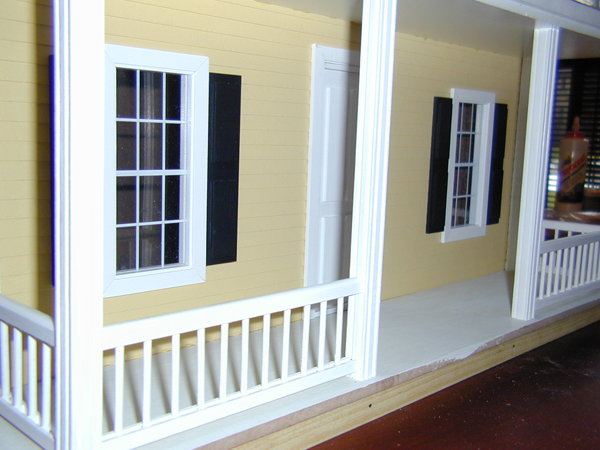
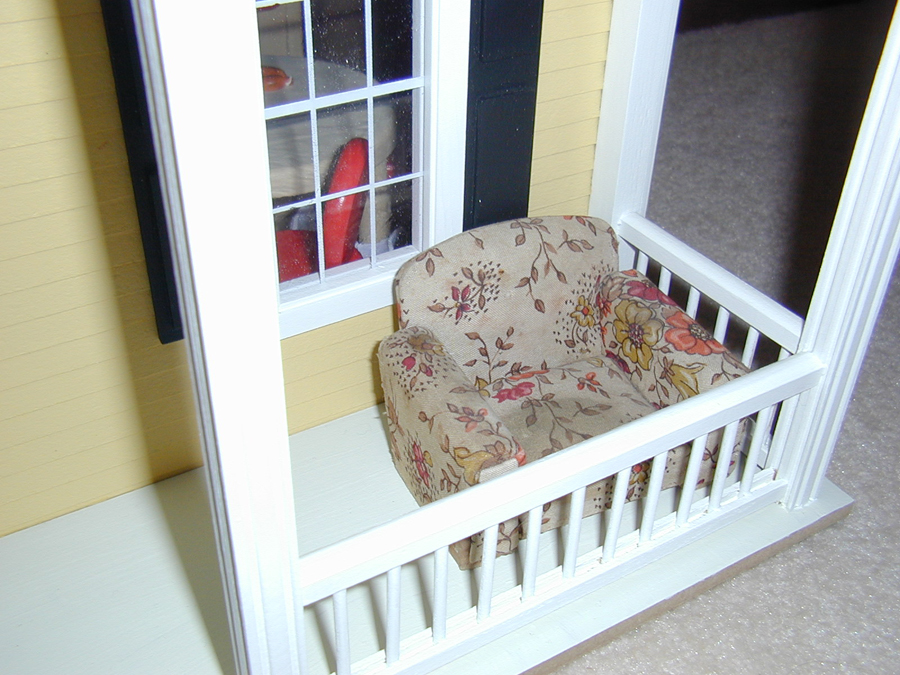
This shot is of the porch railing. Yes, each little baluster had to be hand glued.

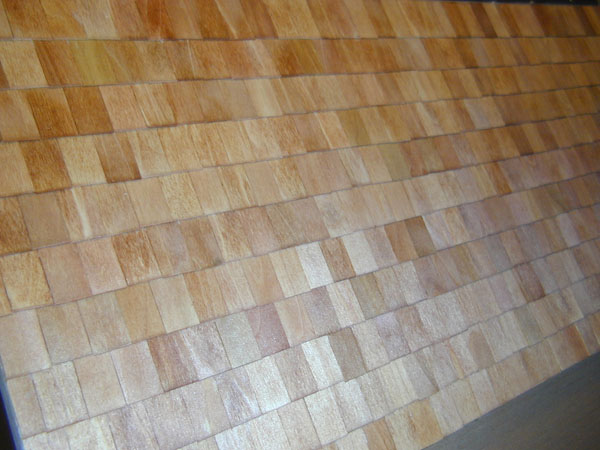
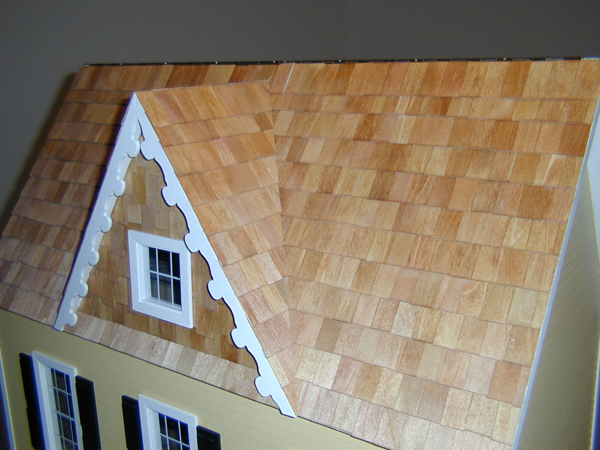
Roof shingles, you got it, they are all separate too. Of course in the kit they are not painted, just plain old pine. I thought for authenticity I would go through the trouble of mixing three batches of stain, each a slightly different color. When we started to stain the pieces I quickly realized that the pieces each looked different in shading, even though they came from the same stain batch. This was due to the fact the stain penetrated differently and each piece had it's own slight natural color variation. Sooooo, on we went for a total of about 3 hours of shingle staining, split into two sessions of course.
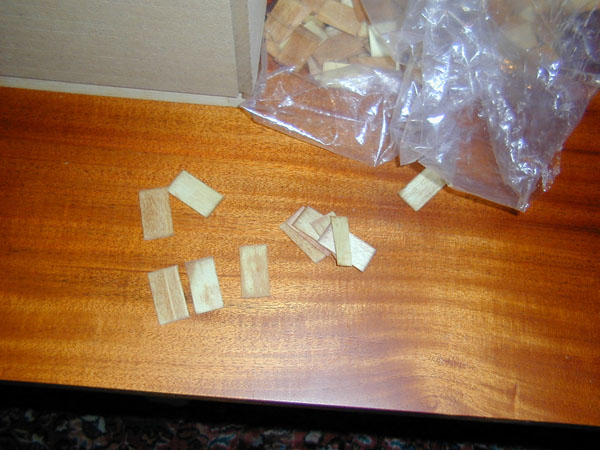
Just like in real life some of the shingles had to be hand cut to fit the roof angles. This took quite a bit of time. I still have some more to do.

The back side of the house, lots of shingles but no special cutting.
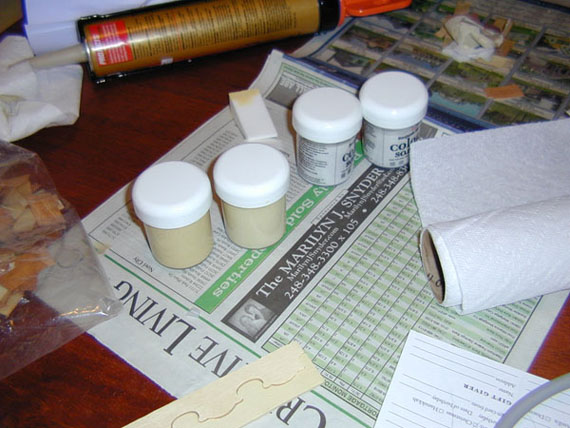
Here are the "General Contractor's" paint swatches. Not the best shot of both sets but if you look hard enough you will see that on one side we have white on yellow and the other test side we have white on yellow. Yes, they both look the same to me. My wife, ahem, the general contractor sees a difference.
Here are the Benjamin Moore sample paints. Don't ask.
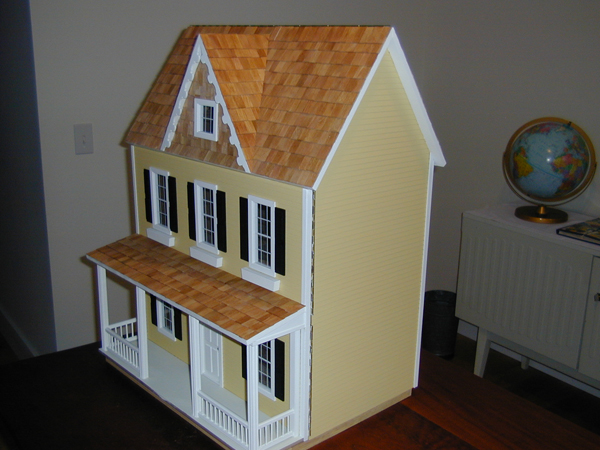
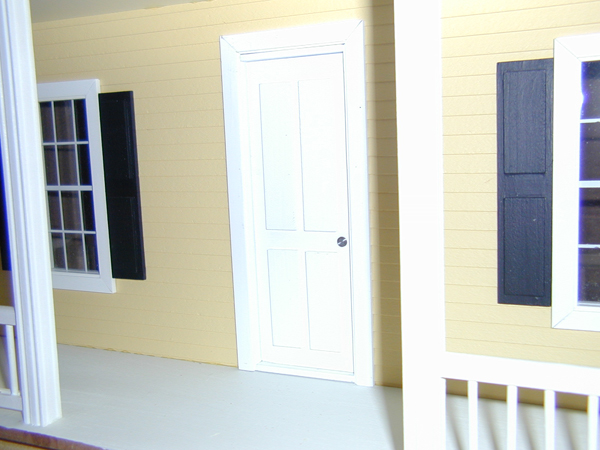
Jan 3, 2006 - Finally, after many hours of painting, we have finished. My wife really worked hard on the paint this past Christmas break, she alone has probably 12 hours of painting in it. Here are the completed pics. All the shingles are on, we even ran out so the hinge on the back didn't get shingles.

I tried to get a good picture of the door knob but my camera wouldn't cooperate. I took a nail and polished the head on the drill press so it cleaned it up and now looks like a knob and not a nail head. Then I cut the nail down to size so it fit into the door.
The Grandparents have already laid claim to the porch.

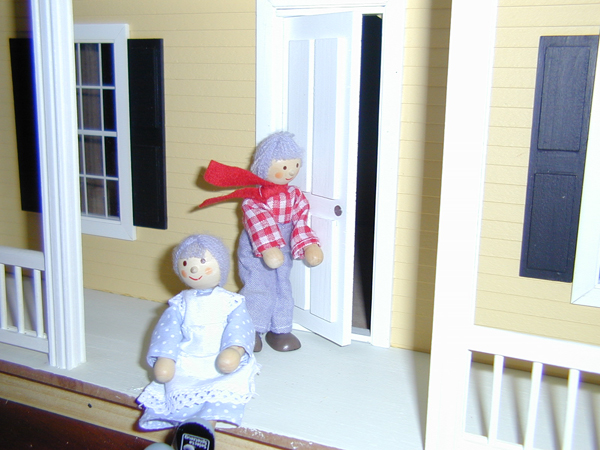
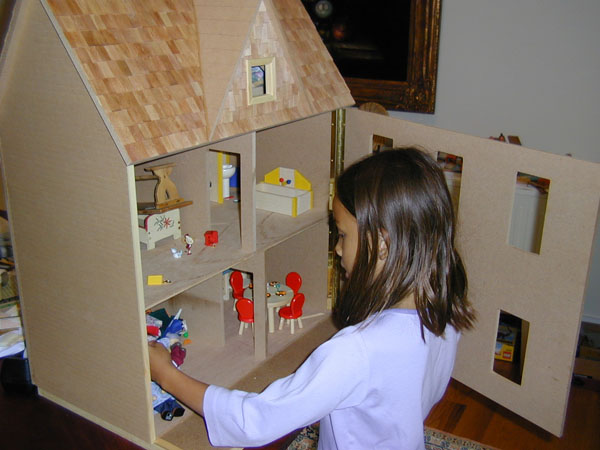
Here are some pics with the house in action.


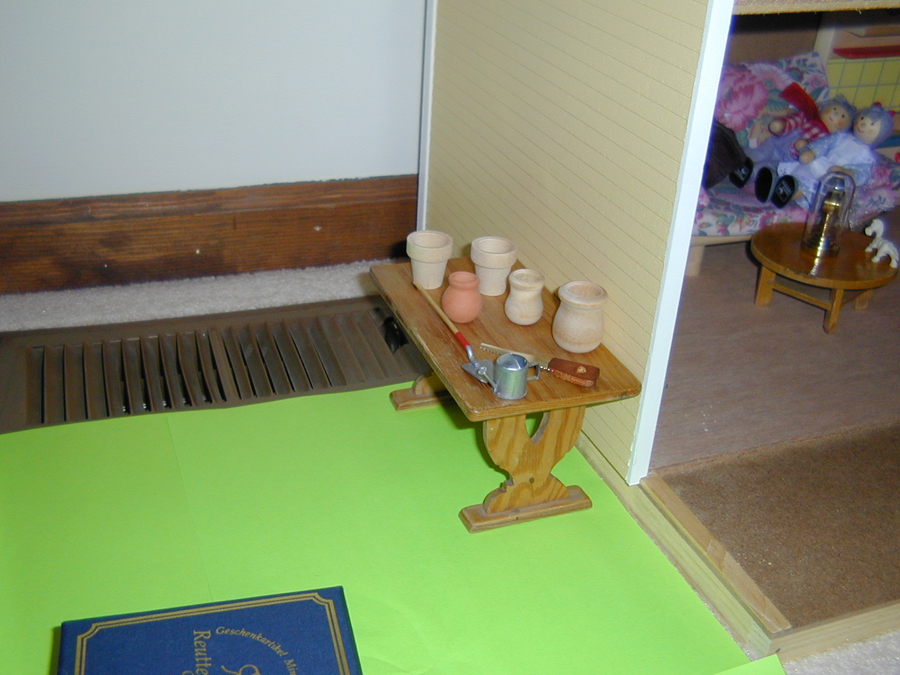
There is even a gardening workbench on the side of the house.
Here you see the inhabitants have taken their lazy boy and put it on the porch. It must be one of those houses out in the sticks.
![]()
6/12/2007 - Upon request I am adding some pictures of the house in it's "matured" state. These are some pics as you would find the house today, quite full of stuff. Below there has been an addition to the house due to over crowding.
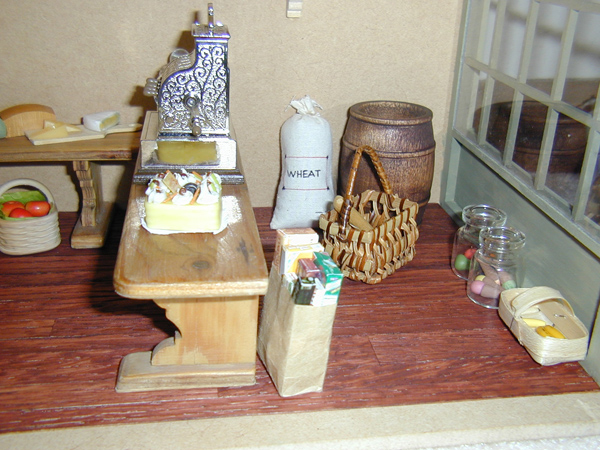
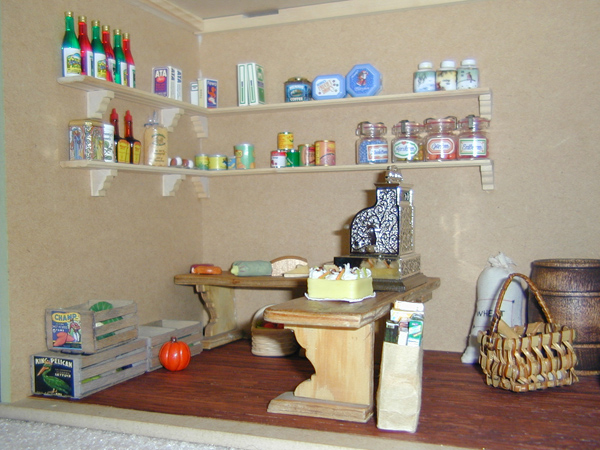
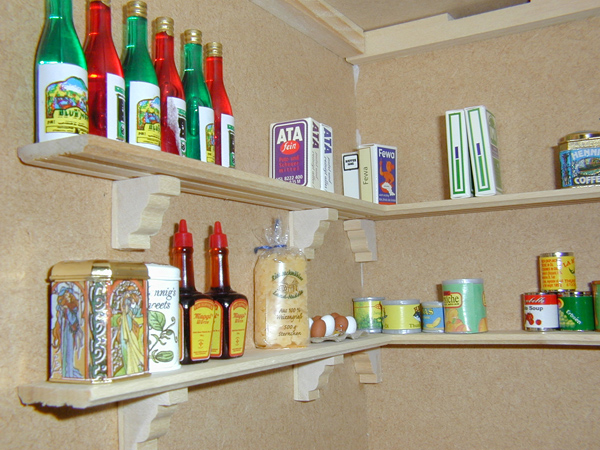
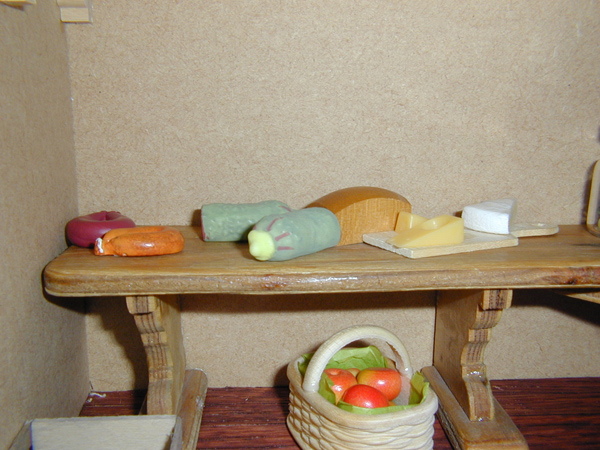
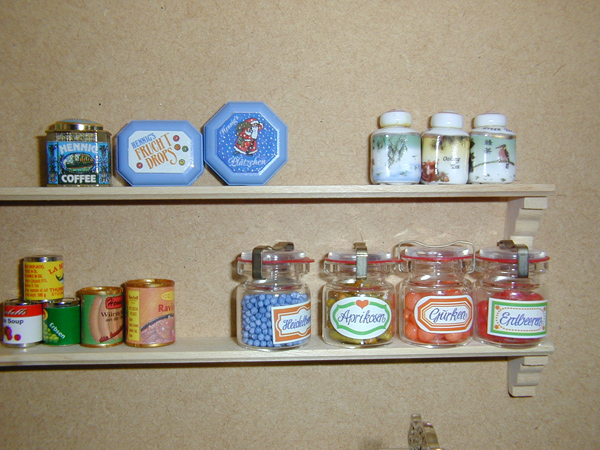
Since the house was getting sooo full of stuff we decided to do what every middle class family does, add on. Since the collection of kitchen items was getting pretty extensive, we decided that a general store would be in order. Albeit not quite as labor intensive as the house, this little store did take us quite a bit of time. We still haven't made a little sign for out front.
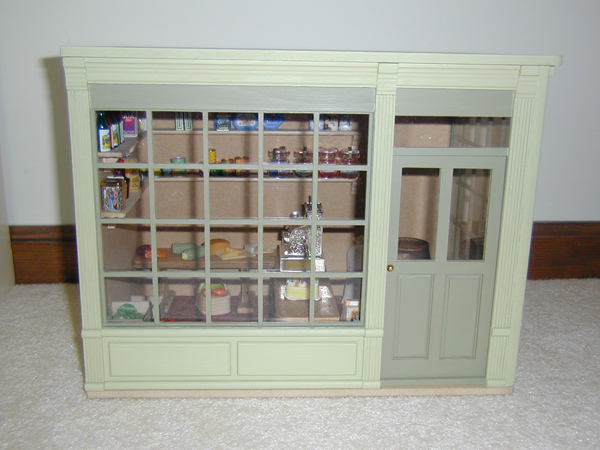
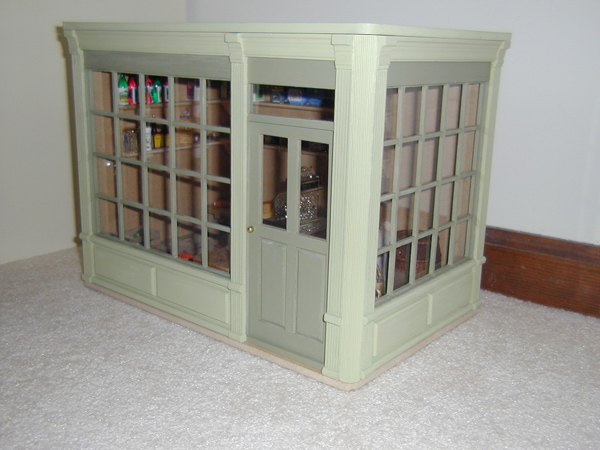

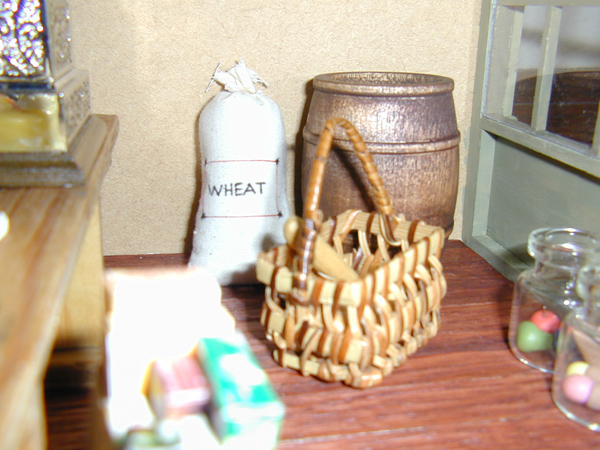
The flooring is actual red oak that has been stained. We were going for that old store look. My two favorite items are the little Maggi bottles and the barrel with the wheat bag. Also, the shelves were custom made by the general contractor/painter (wife).